Eat. Log. Don't stress.
The fastest way to log a meal is the way you'd describe it to a friend. So Onmode is built around that.
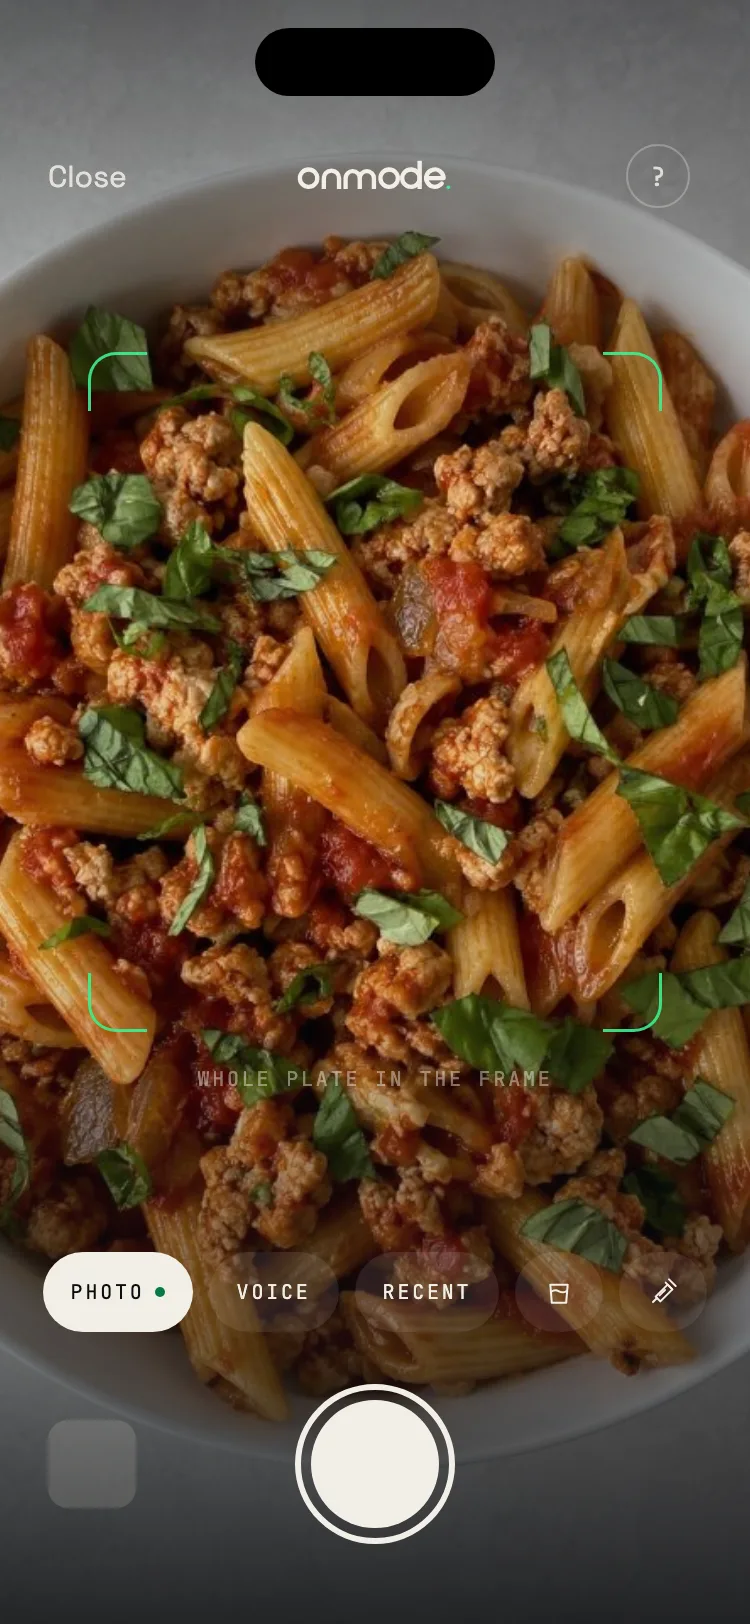
Take a photo of your plate.
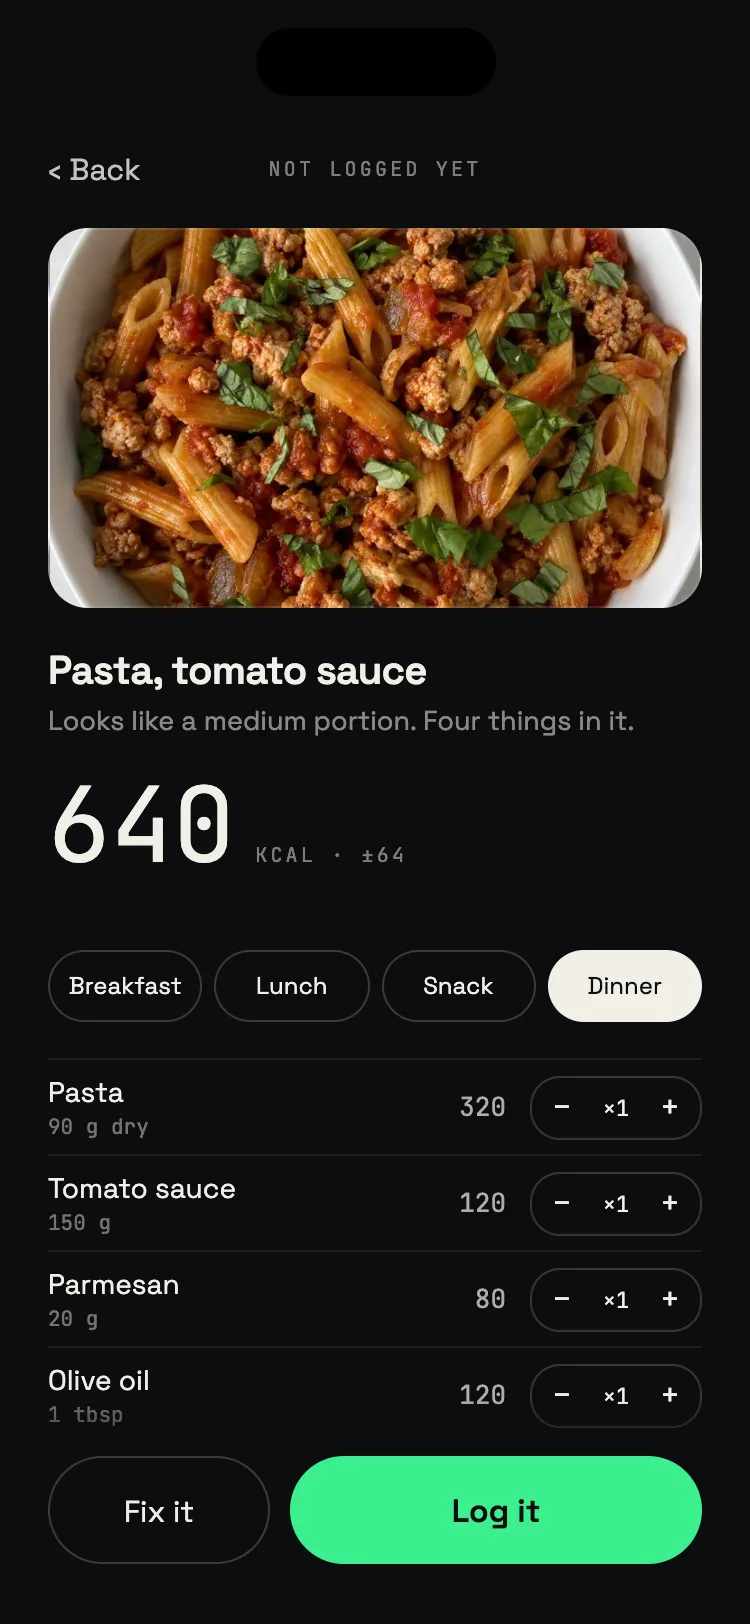
Point the camera. The model identifies what's on the plate, estimates portion size from visual cues, and returns calories and macros in about two seconds. Off by a notch? Nudge the portion.
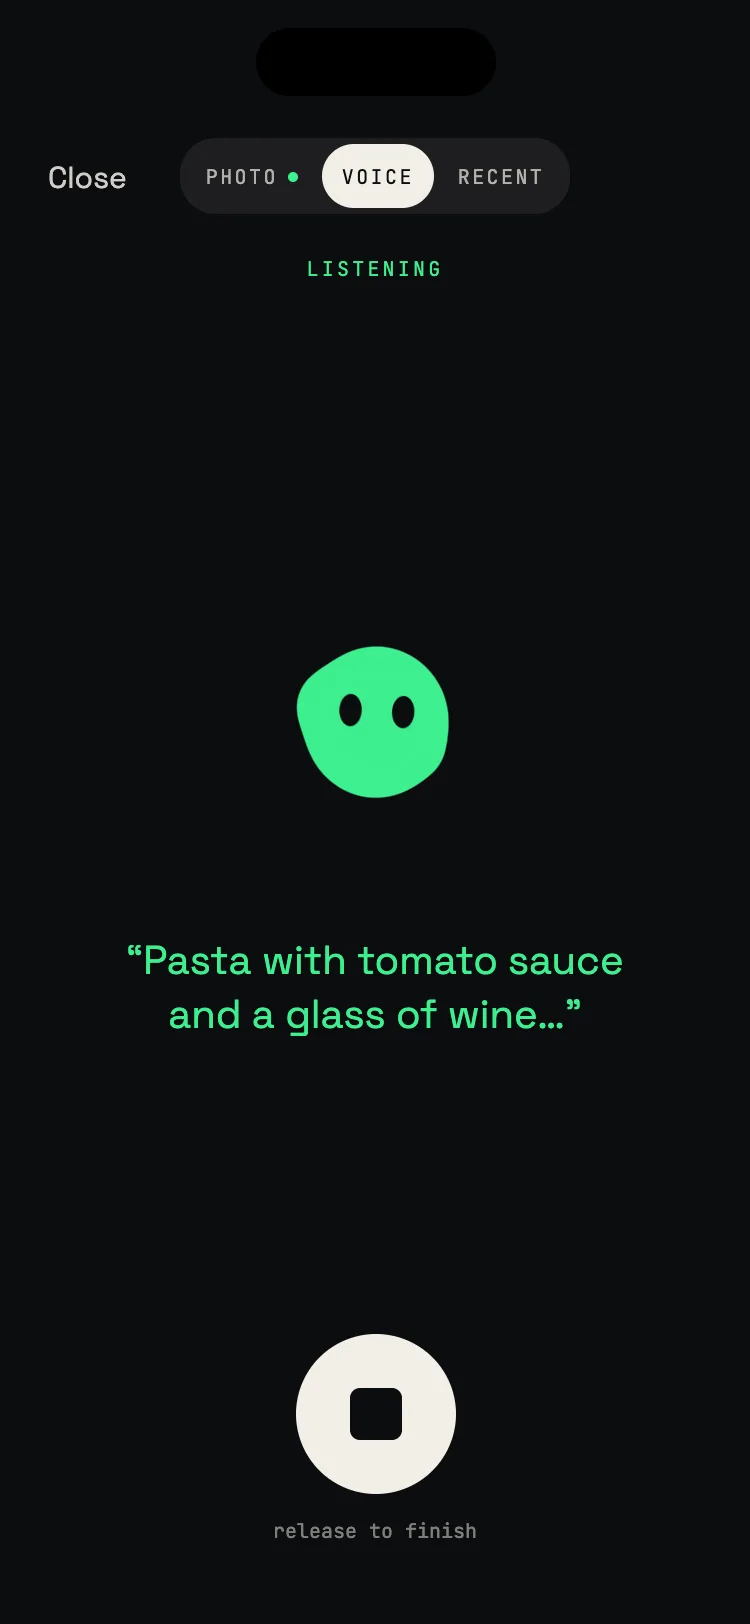
Or just say what you ate.
Hold the mic and talk like a human. "Pasta with tomato sauce and a glass of wine." It transcribes, breaks the sentence into items and looks them up. Hands free, table friendly.
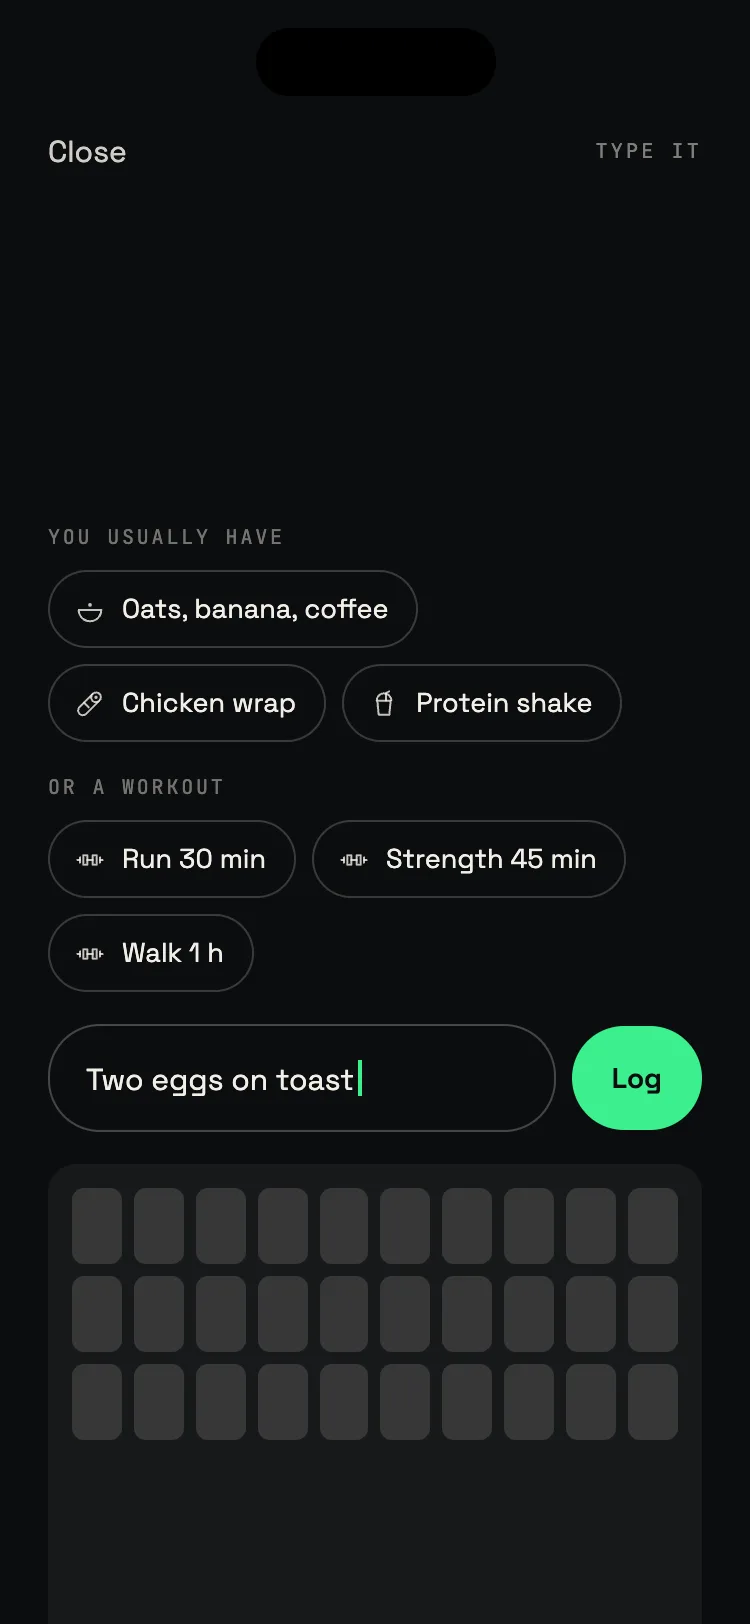
Or type. 14 words or 4.
"Big mac no fries" works. So does "1 slice sourdough with avocado and a poached egg." We do the math you'd rather not. No databases to search, no portion dropdowns.
A coach who knows your week.
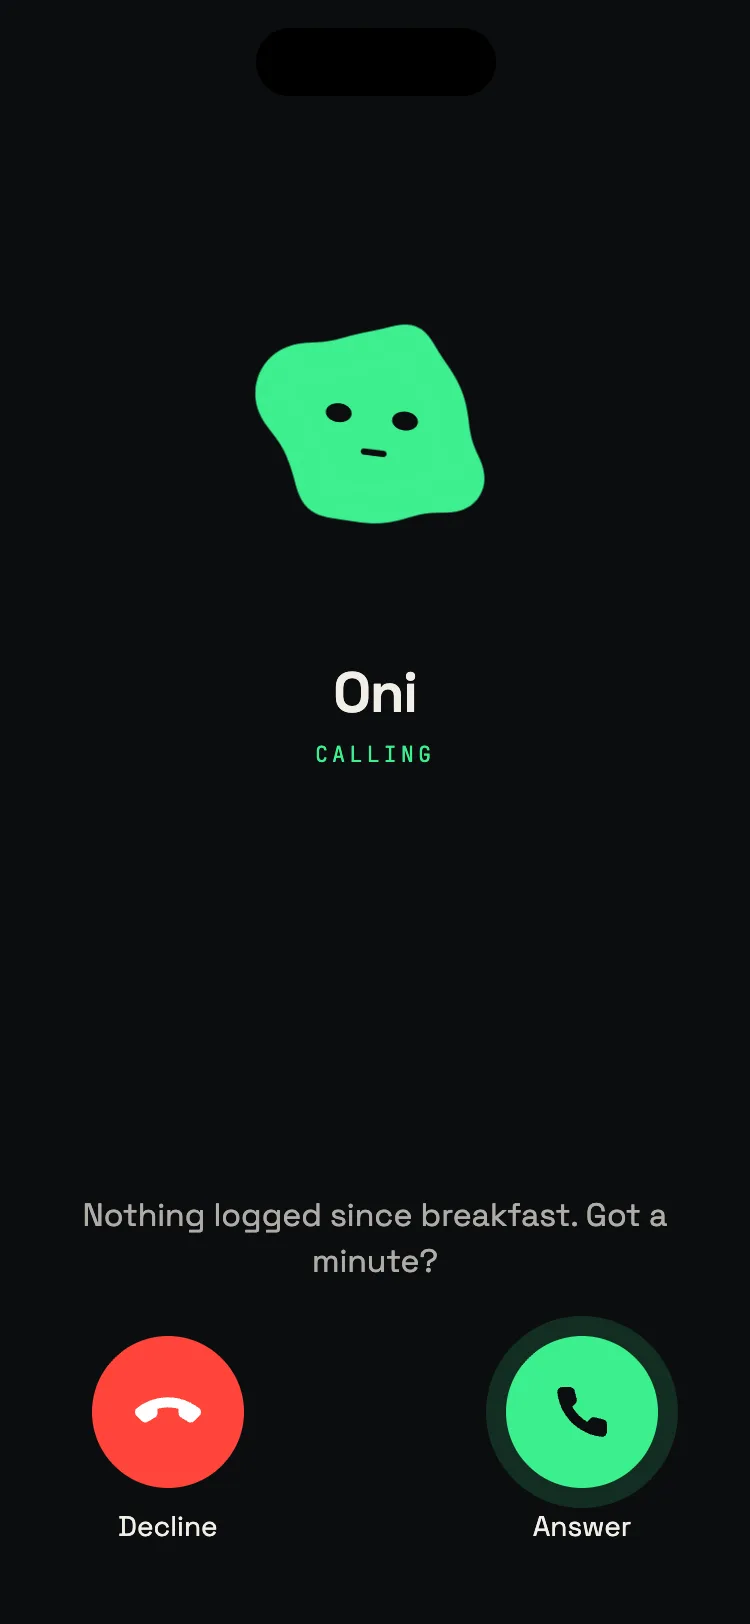
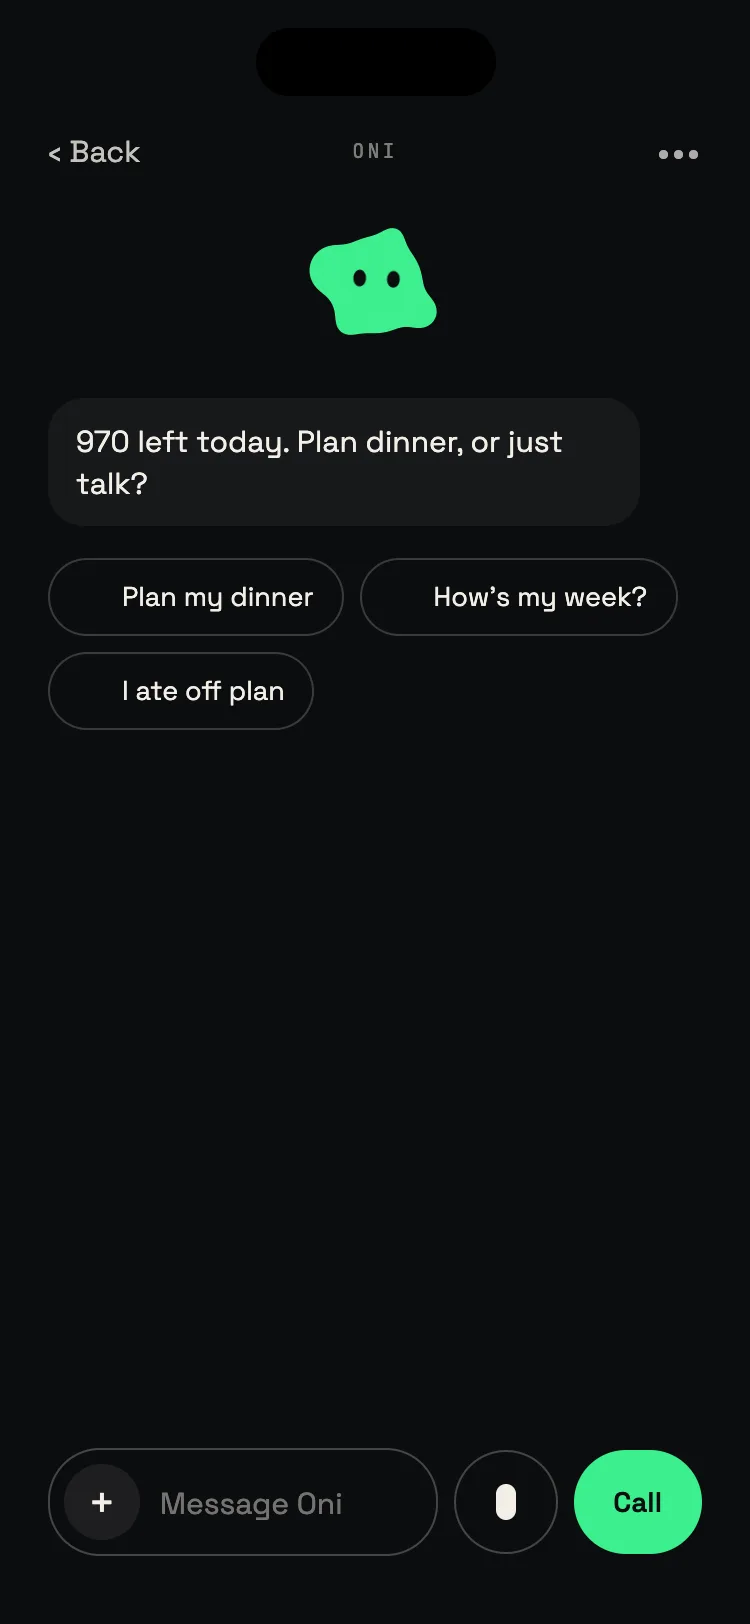
Oni sees what you have eaten, what you skipped and what you said about it. He suggests, never scolds. Nothing logged since breakfast? He calls. Ask "what should I have for dinner?" and he answers with your day in mind.
iPhone and web. Same account.
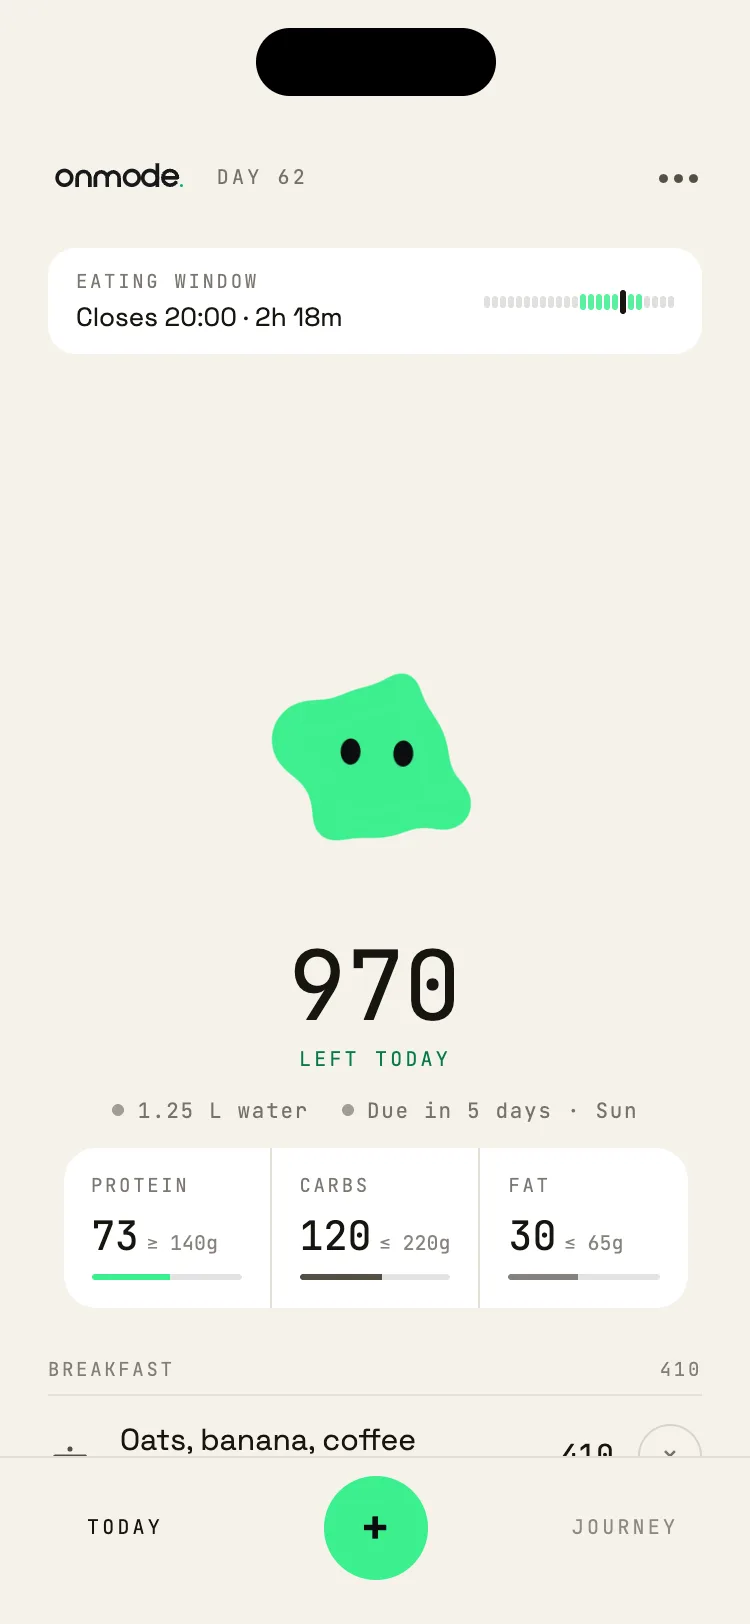
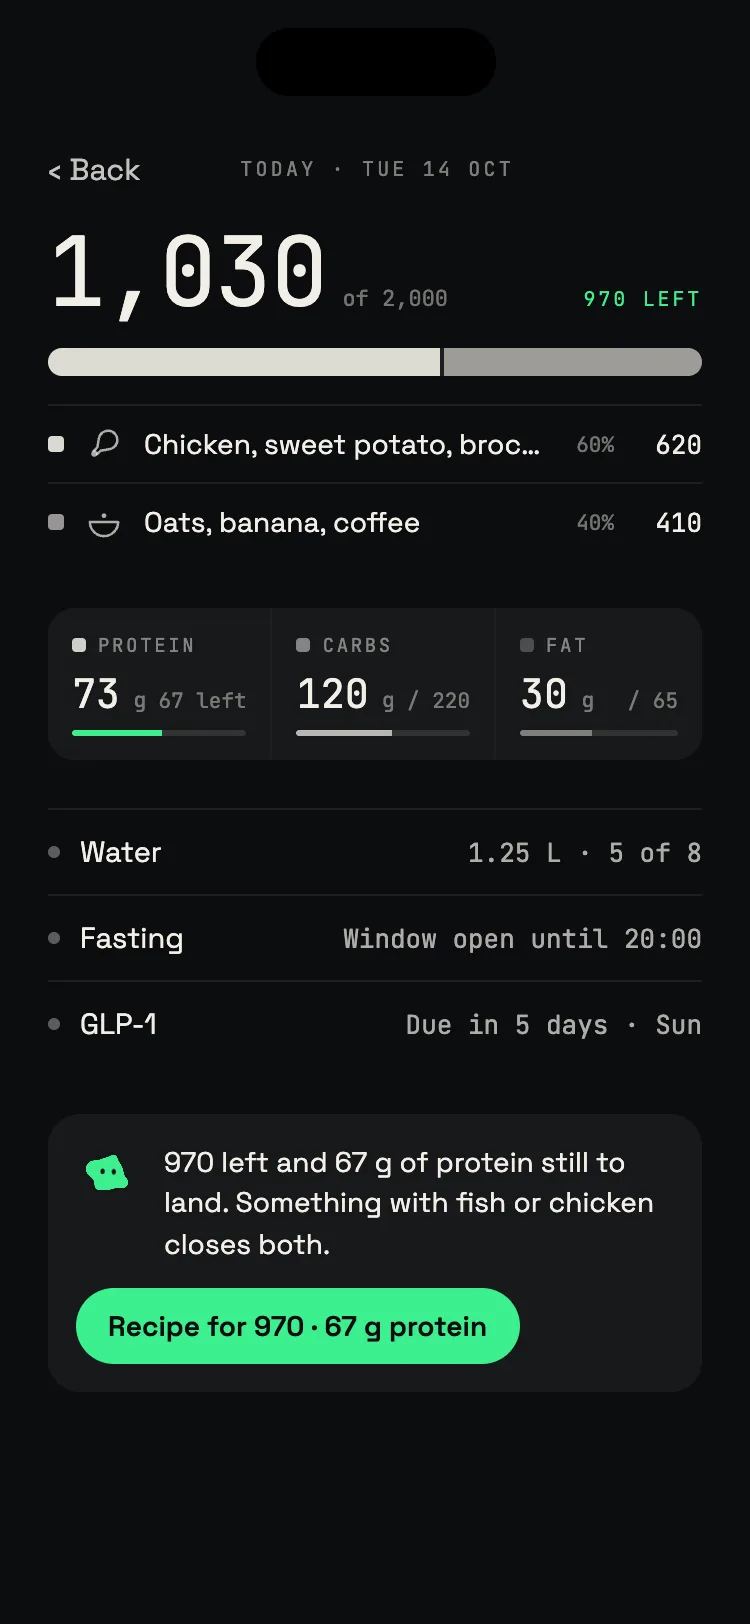
Onmode on iPhone and calorietrack.ai on the web share one login, and meals sync both ways. Apple Health syncs two-way, so steps and workouts count toward your day. On Android? The web app works in every browser. Add it to your home screen.
A few habits make it sharper. Start with the scale.
Logging is one tap, but the estimate gets better when the photo gives the AI more to work with. The one that helps most: weigh it and let the AI read the scale.
- 01 · Angle
Hold the phone at about 45 degrees
A slight tilt instead of a straight-down shot lets the AI see the height of the food, not just its outline, so it can judge volume on bowls, stacked sandwiches, and piled rice. For a flat plate where nothing is stacked, a clean top-down shot works just as well.
- 02 · Framing
Leave nothing hidden
Photograph the meal before you start eating, with the whole plate in frame and items not overlapping. Food tucked under a bun, buried in a bowl, or stacked behind something else cannot be measured. Spread the components out a little if you can.
- 03 · Weight
Put it on the scale and shoot the readout
Set the plate or bowl on a kitchen scale and include the number in the photo. The AI reads the grams off the display and uses the exact weight instead of estimating volume from pixels. This is the single biggest accuracy upgrade for anything you portion at home.
- 04 · Detail
Say what the photo cannot show
Add a line of text for anything invisible: cooked in two tablespoons of olive oil, low-fat milk, no dressing, restaurant portion. Oils, butter, sauces, and the sugar in your coffee rarely show up in a picture and can quietly add 100 to 400 calories.
- 01Photo calorie counterSnap a photo, get calories in 2 seconds. How the photo flow works.
- 02Photo to calories with AIThe model pipeline behind the AI photo calorie counter.
- 03The free AI calorie trackerSnap, speak, or type a meal and get calories and macros in about 2 seconds. No signup.
- 04Cal AI free trialHow the Cal AI trial works, and a free-forever option.
- 05How accurate is Cal AI?What the accuracy looks like in practice, with our 8% comparison.
- 06Best AI calorie tracker · 2026Top 5 ranked with star scores. Updated quarterly.